How to Print and Cut with Crop Marks
I get a lot of questions about what crop marks are and how to use them properly - this is completely understandable as they are not self-explanatory to someone who is new to printing and cutting.
What are crop marks?
According to Microsoft.com:
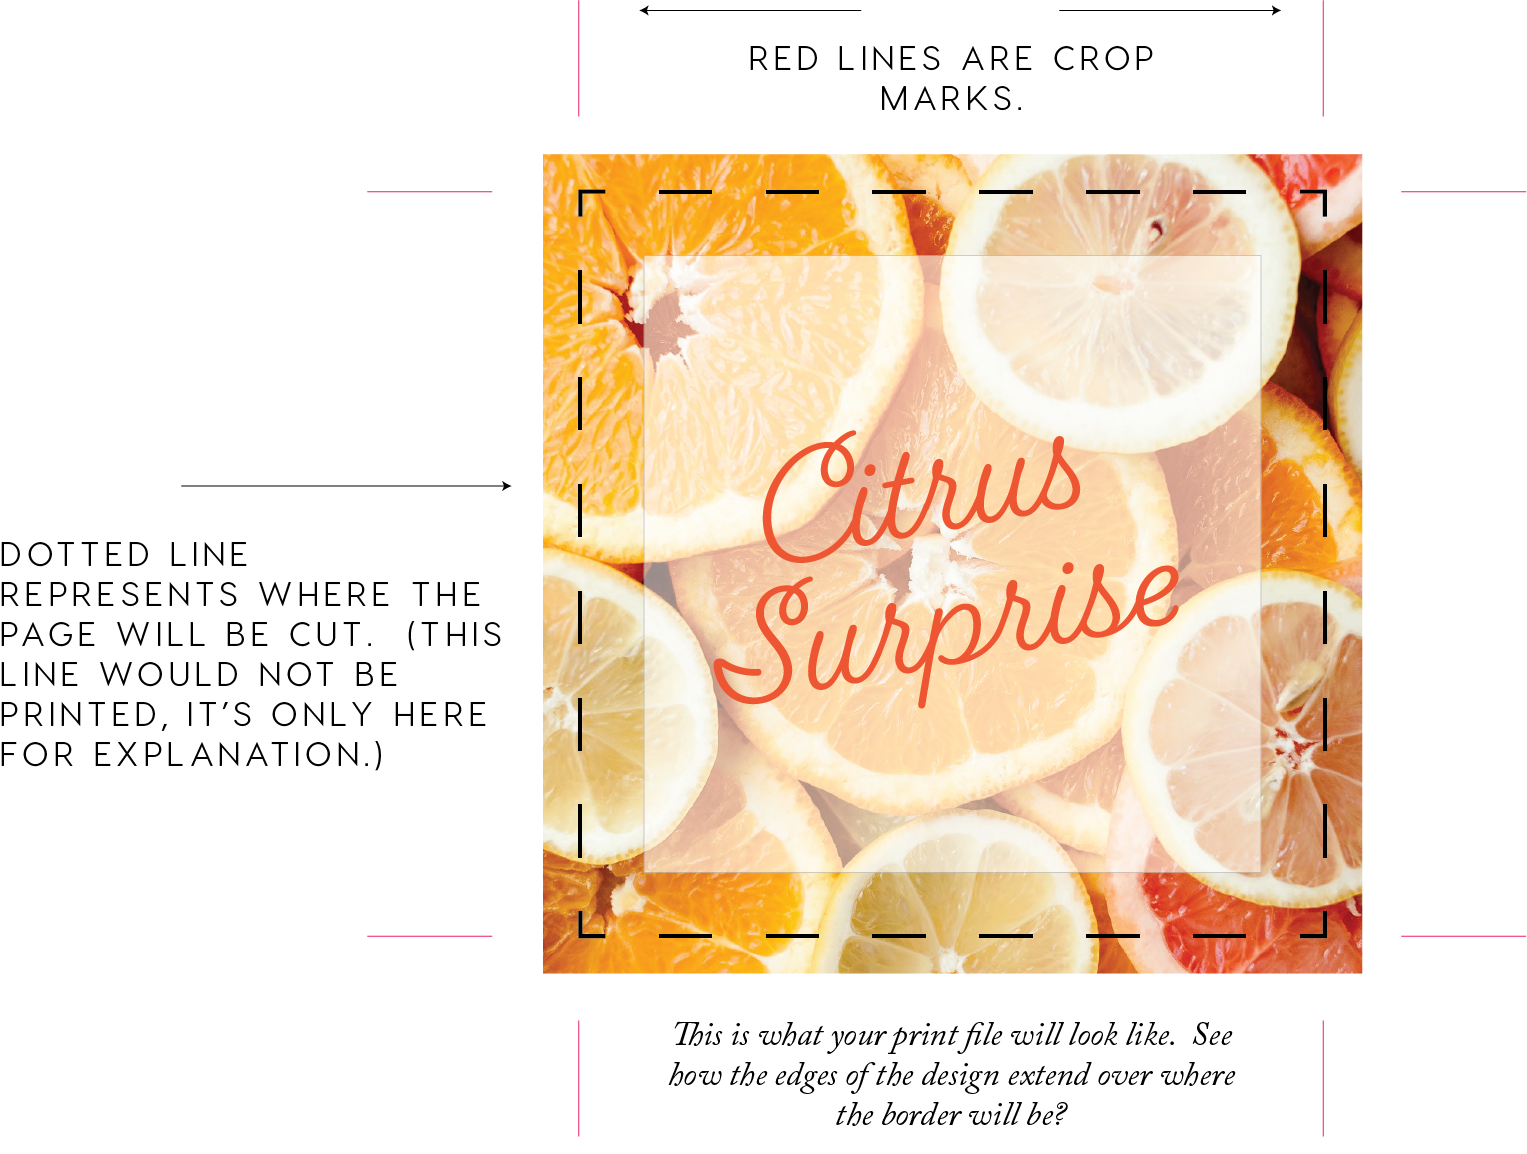
”Crop marks, also known as trim marks, are lines printed in the corners of your publication’s sheet or sheets of paper to show the printer where to trim the paper. They are used by commercial printers for creating bleeds where an image or color on the page needs to extend all the way to the edge of the paper. Printers generally can’t actually print to the very edge of the paper, so instead they print on a larger sheet of paper and then trim it down to the correct size, and crop marks are used to define where to trim. So, to print crop marks, you must print on a paper size that is larger than the page size you have set for your publication.”
For the visual learner:
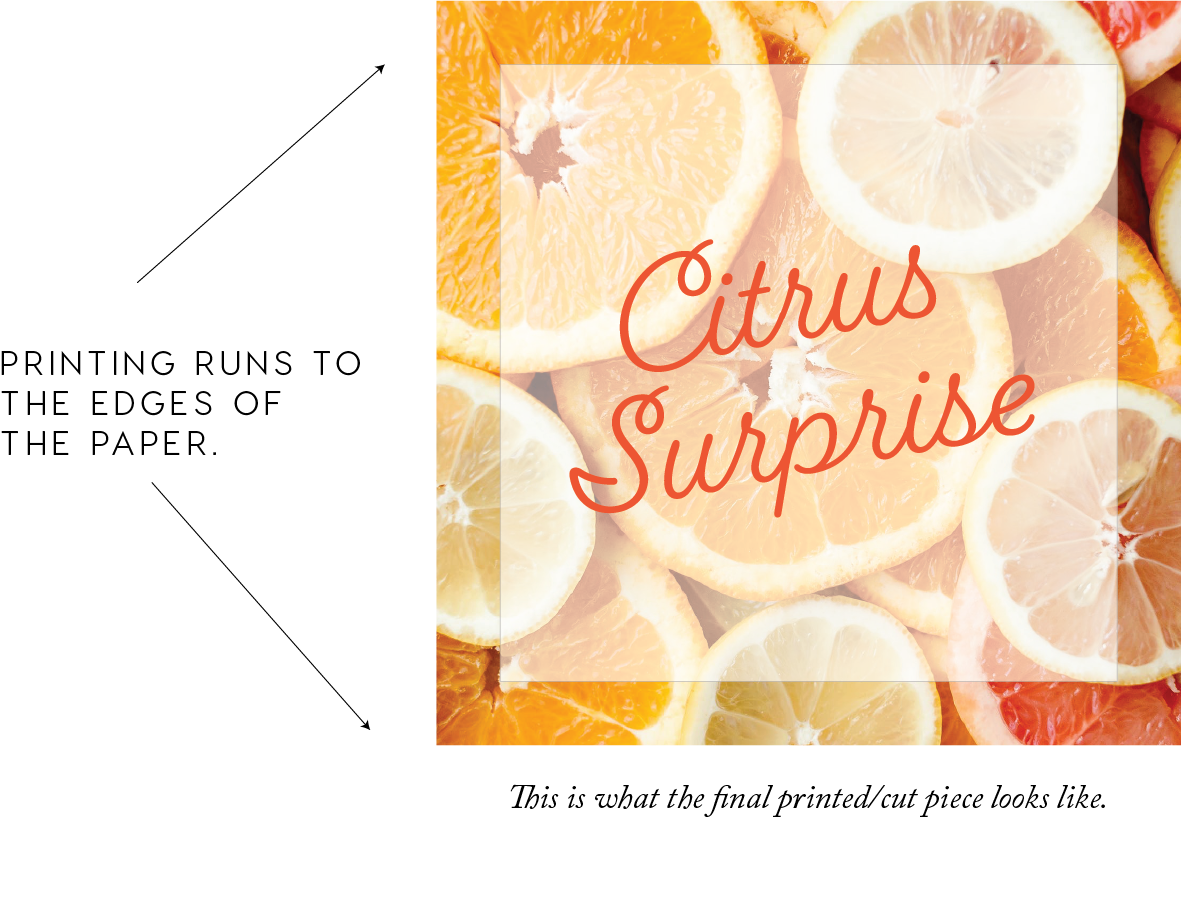
Here, you can see a square piece where the printing runs to the edge of the page. Printers are not able to print to the edge of a piece of paper - imagine how much of a mess that would be!
So, in order to have a clean line where the ink runs to the edges, it’s important to set up a “bleed” before printing. This means that you will create some extra runoff around the edges of of your design so that when you print, you can cut through that extra printing and create a clean printed edge.
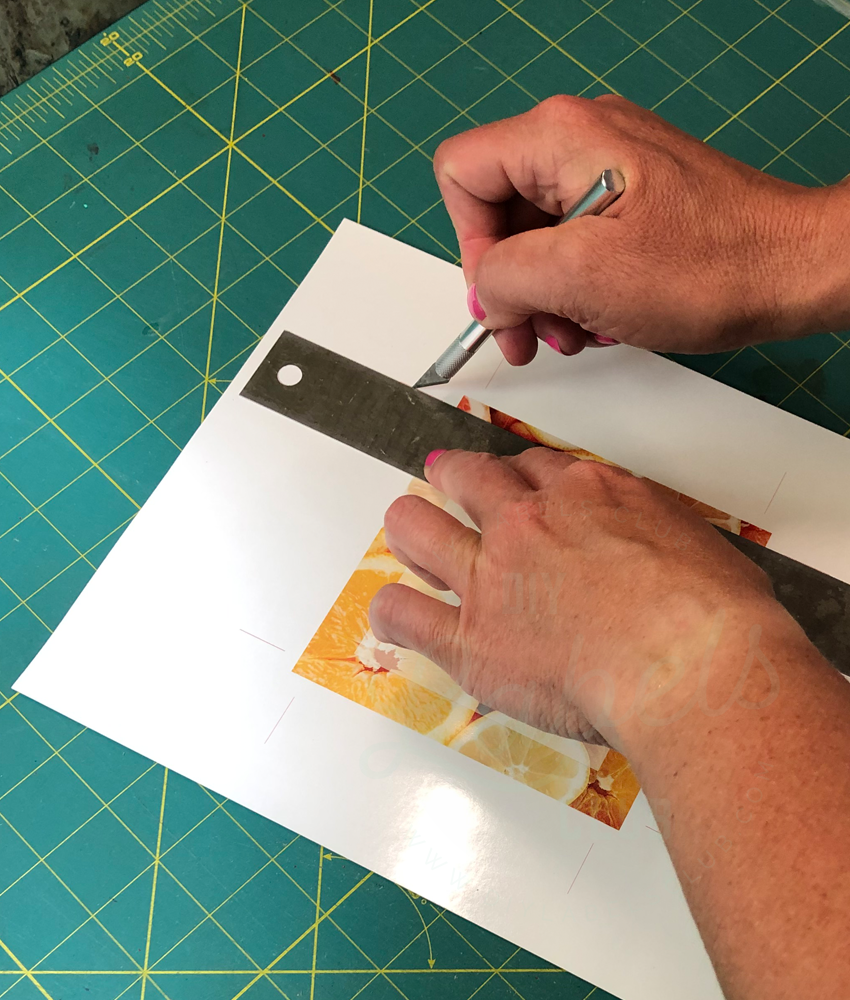
Once your file is printed, you’re ready to cut it out. This is not something you can do with scissors…you will need a straight edge and a blade.
First, line the straight edge up with a set of the crop marks. I usually start with the right side vertical marks. Cut from one to the other WITHOUT extending the cut marks from edge to edge of the paper.
After the first cut, you will see how there is a cut mark in the paper, but everything is still intact and connected because the cut did not go from one edge to the other….
Next, you can flip the paper around and cut the other side. These are the crop marks that are parallel to the first set that you cut.
Again, the paper is still intact because the cuts don’t go from one edge to the other.
Now you can cut one of the other sides - you’ll notice that your paper is starting to get a bit flimsy so make sure to use adequate pressure on your straight edge.
Last, cut the remaining side. Your paper will still have it’s borders intact and you’ll see the edges that are considered the “bleed”. In this next image, you will see how the ink, or the “bleed” extends over the cut lines so that there is a clean edge that is printed all the way to the border.
Looks great! This method does not only work with print files that have a bleed. In the video below, you can see how I cut these cards out with crop marks because I did not want a box or a line to show up on the final piece.
The cards shown in this video are part of the Editable Bath and Body Labels Set that has a huge assortment of bath and body labels! You can check them out here.
I would love to hear if this information was helpful to you - or, if you have additional questions!


